How to arrange students into groupings?
Before students can be arranged into groupings, first you must arrange them into different groups (see "How to arrange students into groups"). Once those groups are ready:
- In the course’s Settings block, expand Users under Course administration and click "Groups".
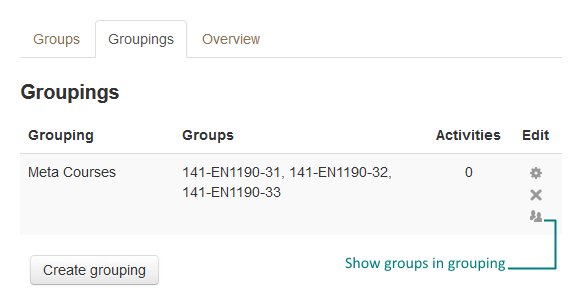
- Click the second tab “Groupings” at the top.
- Click the "Create grouping" button at the bottom.
- Provide a grouping name and click the Save changes button to create the new grouping.
- In the grouping table, click the “Show groups in grouping” icon on the far right of a grouping item.
- Click to select groups under the Potential members list on the right. You can hold the Ctrl key while clicking to select multiple groups.
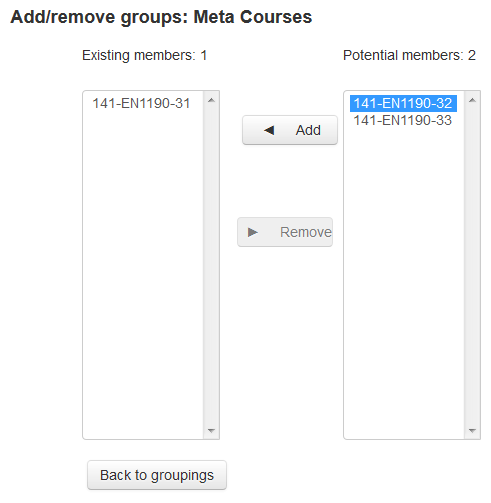
- Click the "Add" button then add the selected groups to the Existing members list.
- Click the "Back to groupings" button at the bottom.
- Repeat steps 3 to 8 to create other grouping if necessary.
Depending on your purpose of using groupings, each group of students can be assigned to more than one grouping.
Last modified: Thursday, 14 August 2014, 3:00 PM